DTM Expo
Design, Technology and Management (DTM) Expo
Students will present a design or technology project comprised of materials which clearly tell the story of the process, evolution, and art of the design or technology component.
A team of theatre design and technology respondents will serve as selection panelists and respond to the projects.

How to Participate
1: Register for the Regional Festival.
2: Fill out the DTM Registration Form before December 16th, 2024
3: Submit a digital design or project presentation(guidelines below) of your work before January 10th, 2025
The link for digital submission will be e-mailed after December 16th, 2024.
4: Display your work at the festival (guidelines below).
5: Present orally to the responders and receive feedback.
Design Categories
- Scenic Design
- Costume Design
- Lighting Design
- Sound Design
- Allied Design & Technology Category
- Projection Design
Please present your Design Process (samples may include) :
-
-
-
-
A design statement in outline form
-
Visual research images
-
Preliminary sketches & ground plans, etc.
-
Color Sketches / Renderings
-
Finalized Drafting: ground plan, front elevations, section views
-
3D Model
-
Production photos (Realized Productions only)
-
-
-
Please present your Design Process (samples may include) :
-
-
-
-
A design statement in outline form
-
Visual research images
-
Preliminary sketches & renderings
-
Final Renderings with Fabric Swatches
-
Production photos (Realized Productions Only)
-
-
-
Please present your Design Process (samples may include) :
-
-
-
-
A design statement in outline form
-
Visual research images
-
Production photos (Realized Productions only)
-
All the lighting paperwork
-
-
Lighting Plot
-
Cue Sheet
-
Magic Sheet
-
-
-
-
-
Please present your Design Process (samples may include) :
-
-
-
-
A design statement in outline form
-
Researched Audio and/or any supporting materials that show the process leading to the design
-
All the sound paperwork
-
A sound plot
-
Cue Sheet
-
Sound system design
-
-
Clearly identifiable links or digital files with selected cues and the manipulations that lead to those compositions.
-
While there is no time limit for cues/clips, consider what best and most concisely showcases your desired cue/work.
-
-
-
-
- This category addresses the range of technical challenges that theatre presents and celebrates the process of reaching a solution.
-
- The areas include (but not limited to):
-
- Technical Directors
- Head Electricians
- Sound Engineers
- Costume Technologists (e.g., Draper, Tailor, etc.)
- Costume Craft Artisans
- Hair and Makeup Artisans
- Prop Artisans/Managers
- Scenic Artists
- Puppetry
- Special Effects
-
- Materials for all areas should show the following:
-
- Clarify the problem or subject being addressed
- Process materials such as research, working drawings, anything that shows your investigation
- Paperwork appropriate to the project. This may include drafting, tracking sheets, etc
- Visual representations of the project, such as renderings, schematics, etc
- Projects based on realized productions should include production photo(s).
-
- The areas include (but not limited to):
Please present your Design Process (samples may include) :
-
-
-
-
A design statement in outline form
-
Visual Research Images and/or any supporting materials that show the process leading to the design
-
All the paperwork
-
A projection plot
-
Cue Sheet
-
Projection system design
-
Any additional organizational paperwork
-
-
-
Clearly identifiable links or digital files with selected cues and the manipulations that lead to those compositions.
-
While there is no time limit for cues/clips, consider what best and most concisely showcases your desired cue/work.
-
Production photos (Realized Productions Only).
-
-


SUBMISSION PROCESS GUIDELINES
Digital Design Presentation Due January 10th, 2025
Digital Design Presentation Slides Overview
Create a presentation slides file with Google Slides or Microsoft PowerPoint or a presentation slides software.
All presentations will be limited to 12 slides.
Materials for all areas should show the following:
-
Clarify the problem or subject being addressed
-
Process materials such as research, working drawings, and anything that shows your investigation
-
Paperwork appropriate to the project. This may include drafting, tracking sheets, etc
-
Visual representations of the project, such as renderings, schematics, etc
-
Projects based on realized productions should include production photo(s) if possible
Slide 1 Title Page
Please include:
-
student’s name (NO institution’s name)
-
student’s area of discipline
-
name of the production, including the playwright’s name.
-
If this is a realized production, please also include the names and disciplines of the other designers involved.
-
Please use an easy-to-read font. (e.g., Arial, Helvetica)
-
No smaller than 24 points font size.
-
Please do not include the name of your school on this or any supporting slides.
Slide 2: A Statement of Design and/or Production Concept of the play
-
Write several descriptive sentences that communicate the purpose, focus, and fundamental concept of your design.
-
If you want to write a sentence, please make it short and precise.
-
The time, place, and setting (if applicable).
-
Please use an easy-to-read font. (e.g., Arial, Helvetica)
-
No smaller than 24 points font size.
-
Example:
-
Your emotional reaction to the play.
-
A metaphor or a visual object to describe your emotional reaction.
-
Design elements to describe your design solutions (line, shape, texture, color, value, tempo, etc.)
-
Mood, description of the world of the play you want to create.
Slides 3-11: Supporting Materials Slides
- Choose elements that best articulate and document your conceptual approach, process, and production.
- Please see the Design Categories and Supporting Materials section above.
Slide 12: Closing/Reflection Slide
-
Please summarize your experience working on this project.
-
Choose one or two of the following questions to assist your thought process.
-
What did you learn about the art of your discipline from working on this project?
-
What did you learn about yourself as an artist from working on this project?
-
How did working on this project play to your strengths and weaknesses?
-
What challenges do you foresee in bringing this project to life? (if you worked on an unrealized design)
How to Submit your shareable link
The link to upload your presentation will be available and e-mailed after the December 18th registration deadline.
How to get the shareable link:
Google Slides:
“File”> ”Share”> “Share with others”> Click the dropdown menu on General Access
> Select “ Anyone with the link” > Click “Copy Link” (You are ready to paste to the submission form!)
Google Drive:
Click the three vertical dots>”Share”>”Share”>”Click the dropdown menu on General Access
> Select “ Anyone with the link” > Click “Copy Link” (You are ready to paste to the submission form!)
Microsoft PowerPoint:
“File”>”Share”>”Share with People”> Click Gear Icon (Sharing Settings)>Select “Anyone” > Click
“Apply”> Click “Copy Link” (You are ready to paste to the submission form!)
Microsoft OneDrive:
Click the three horizontal dots>”Share”>Click Gear Icon (Sharing Settings)>Select “Anyone” > Click
“Apply”> Click “Copy Link” (You are ready to paste to the submission form!)
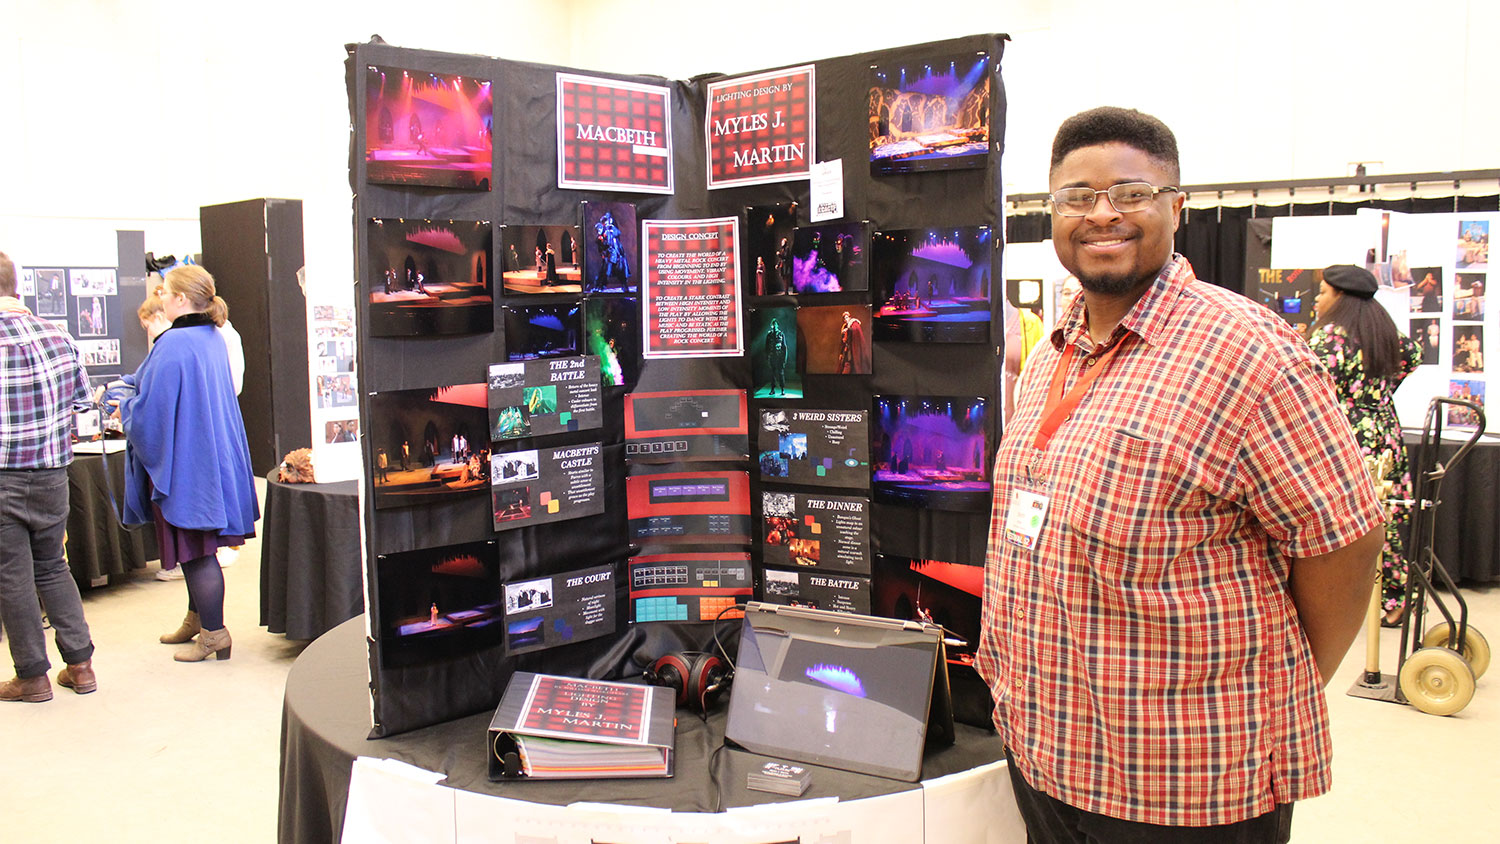
Physical Design Presentation
How to create the Presentation Board
1: Get a Self-standing Presentation Board. (A tri-fold display board is recommended).
Region II will NOT provide a pin-up board.
2: Print out and/or make a copy of your drawings and paperwork. (Please DO NOT attach any original works)
3: Print out the Title of the play, Your Name, and a Design Statement in outline form. (Please NEVER mention your institution’s name on the presentation board and at the presentation.)
4: (Realized Design Only) Print out the production photos.
5: After printing out all the items, please locate them on the board and decide on the composition of the display. (Do not attach them yet.)
6: Attaching the items on the board at the festival with pins or removable tapes/tacks is highly recommended.
TO DO: When you arrive at the Festival
1: Check in to the Festival at the Festival Table
2: Check in to the DTM Table to sign up for the presentation time slot and receive your assigned exhibit space.
3: You will receive a table space of approximately 3′-0″ x 18″. You must request the Extra table/floor space during the online EXPO registration.
4: Please bring a self-standing presentation board for your display. (A tri-fold display board is recommended.) Region II will not provide a pin-up board.
5: Exhibits must be set-up and taken down at the assigned load-in and strike times.
Note: Stage Management entries have table space for your prompt book only. A pin-up or any presentation board space is not permitted.
Important Information of the Display
-
It is expected that your work will stay in place for the entire festival.
-
Students who can not attend set-up must find a way to have their presentation set up in their absence, and those students that need to leave prior to the final strike must find a way to prearrange the removal and safe return of their design work.
-
Work removed early will not be considered for awards.
-
Although the Region II gallery space will be secured during the day exhibitors are responsible for the safeguarding of their own equipment.
-
All exhibits will be photographed for the KCACTF Region II archives and some images may be used on the Region II website. If you do not wish to have your work documented, please contact the Chair of Design and Technology (dtmchair@kcactf2.org) directly.
Oral Presentation and Response Overview
-
Projects are evaluated on the basis of your exhibit display and your oral presentation.
-
Typical responses allow 3-5 minutes for the exhibitor to present their work at the designated area.
-
This is followed by a short question and answer period by a panel of respondents.
-
The Oral Presentations will be timed to assure equal time is given to each presenter.
-
Please refer to the National Guidelines for additional information.
Oral Presentation Tips
We encourage you to tell us your story of the design process.
1: Your name (NO institution’s name)
2: Title of the play
3: Design Statement and/or Production Concept
4: Going through your design/work materials to show your thought and design process with explanations.
5: Reflection on the experience.